Showing posts with label Make What You Surf. Show all posts

Monday, September 4, 2023

Garage Works - 9/4/2023

When I got home, La was working on one of her projects - so I went ahead and got No.32 sanded.  I got both the top and bottom sanded.  


There were some low spots, and some areas that needed a little bit of carbon, so I went ahead and prepped the board for another fill coat.


I got the logos sorted out and stuck on.  Then I put 6.3 ounces on in two batches (4.9 and 1.4) to make sure I got sufficient coverage over the logos.


I'll try and sand the overage this evening, add the top deck logos and get the final (hopefully) fill coat on.  If the epoxy from this morning is not hard enough to sand well, I'll shift to drilling out the holes for the vent and leash plug (probably a better call - then I'll just sand and get the top deck fill on tomorrow).


I'm getting excited to try this one out!

Thursday, November 11, 2021

Garage Works -11/11/2021

After foiling and breakfast, I headed to the garage to knock out some progress on the projects.  I sanded the HS1532CS trailing edge for a third time and placed a third coat of epoxy on.  After it cured I sanded it down yet again, and later this evening I'll get the last coat on, and get that through the whole sanding regime.


Then I sized up the latest ding repair job.  Went ahead and drew out what I thought needed to be cut out.


Taped off the deck so the wax job doesn't get gummed up.


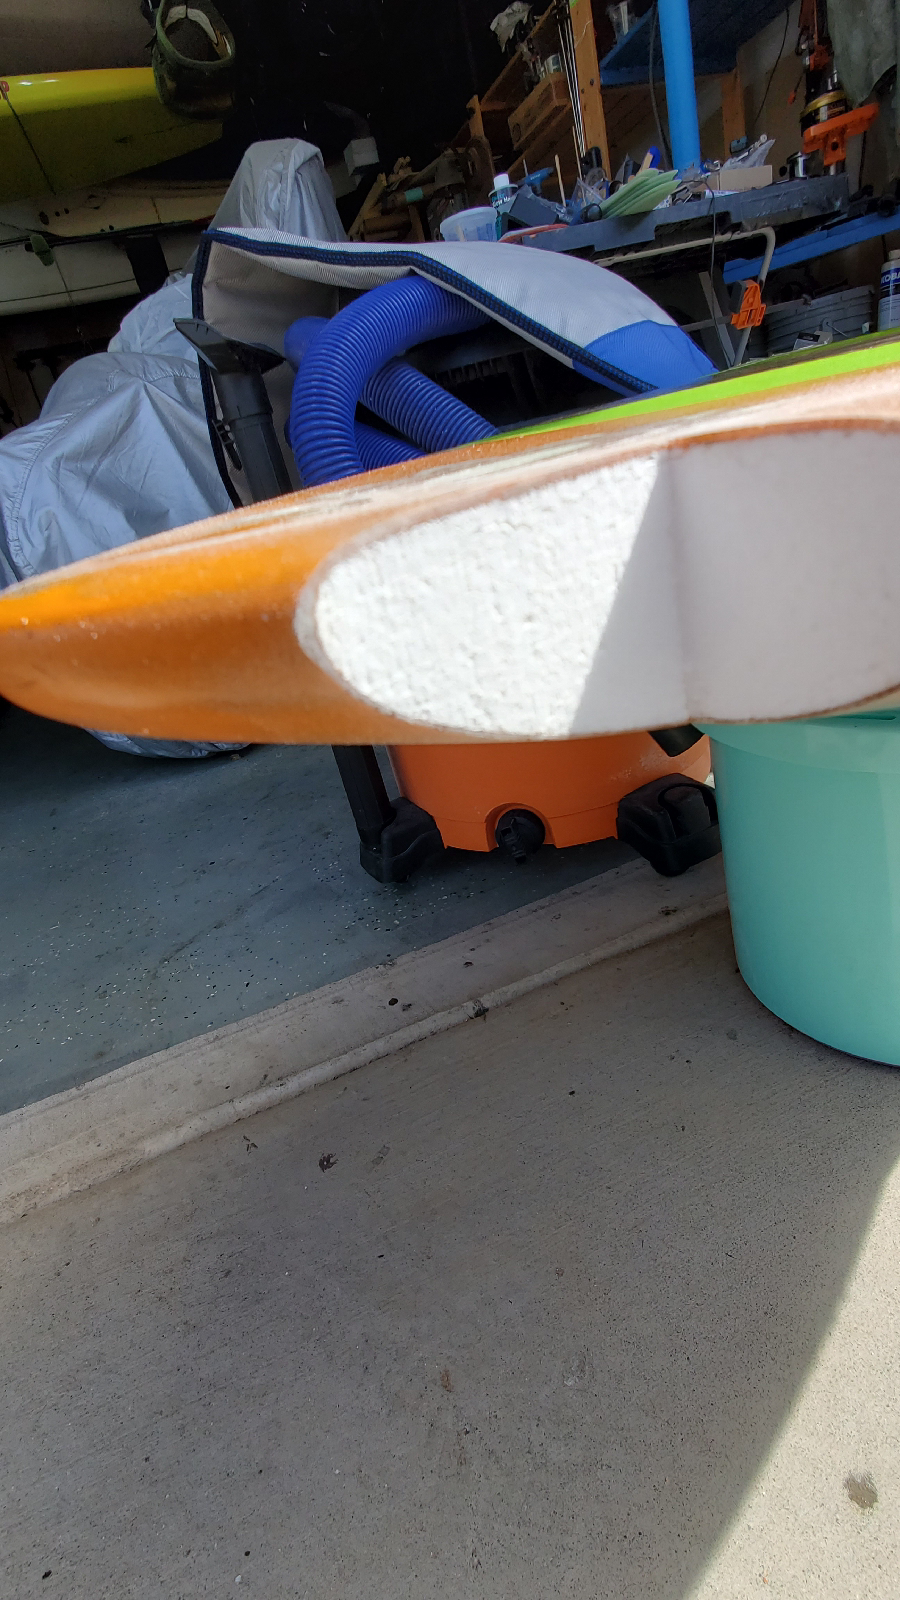
Cut out the ding.


This looks like 100% fiberglass - no carbon...


And then I spliced on another piece of EPS.  I may get this dialed in this evening (cutting off the excess and sanding it down so the fiber can be laminated on).


Then I got the fiberglass cut out that will live at the bottom of the divynicell sheeting.


And I epoxied it in place.  The glass was 6 ounce fabric under the front decking and 4 ounce in the rear foot decking.  I mixed up 4.2 ounces of resin in order to make sure the cloth was saturated (the glass only weighed 1.5 ounces - so almost a 3 to 1 ratio.


The last thing I did in the garage before lunch was to sand Marvin's 15" rear stabilizer through the 40 grit sanding.  Lunch and errands are ongoing now - but I'll likely hit the garage again once I get back home.

Friday, April 24, 2020

Contemplating the Stubby

Instead of plunging head first into the last two sandings, I spent this afternoon contemplating the nose and tail.  I broke out the board ruler and measured, sanded, measured, sanded and stood back to take a look.


I got it to be mostly symmetrical (I know what I said earlier - but I did say I'd finish this board first before diverging into the realm of total asymmetry) - close enough that the glassing will make up for any differences.


I measured the thickness as it currently stands - 2 5/8".  A little thinner than I was hoping for - not sure at what point it dipped down beneath 2 7/8" - likely while I was cutting with the planer.  Glassing will put a little more thickness back onto the board.  As I am writing all this, I'm also researching the fin placement.  Tomorrow I will sand down the board with 120 and 180, then mark the finboxes and cut them out.  Depending on the rest of the day, I may try and laminate the bottom deck (but will likely wait until Sunday and laminate both this board and the new 4'10").

Stubby Rough Sanding

I dialed in the shape a bit more yesterday - dragon skin on the rails and 60 grit screen all over.


I'm thinking about changing the tail shape.  Right now this should pivot at the corners, but looking at the fin setup I want to put on the board, it might be better to round out the tail.  I need to think about this.  Today I can get the higher grit sanding done, make any adjustments to the tail and cut in the fin boxes - two dual singlefin slots and a third right down the middle so I can use this as a singlefin also.  The current dimensions are hovering at 20" wide and just under 2 3/4" thick.  The argument for keeping the tail as is would be the shorter length - at 5'10"+ I should be able to manhandle the board through any situation - and with the straighter rail line the board will have more speed - hmmm - I need to think about this...


Tuesday, April 14, 2020

Fill Coat and Leash Plug

Marlon finished grinding the laps today and he got the bottom fill coat on.  Marlon's next step is to flip the board and get the top fill coat on.


I used a little of the epoxy and got my leash plug installed.  I also filled a couple of low spots where air bubbles got sanded through.  I'll get the leash plug grinded down and the butt crack fill sanded down, then total sanding with 220.  Then the last step is spray a clear coat on, let it dry then wax it up!!!  Should be able to get this wet this weekend (as long as there is surf).


Marlon is probably a day behind me, so maybe this board will get wet this weekend also.

Monday, March 9, 2020

Goals and Ideas for the Next Boards

Marlon asked to shape his own board - so here we go.


He is looking at a 6'0" standard shortboard.


I am going to try my hand at a thick, short asymmetric.  Still deciding on the transitions.  Stay tuned...

Tuesday, December 31, 2019

4'6" Foil Board All Finished

Here is the end product.  I'll get it in the water tomorrow and work to figure out placement for the foil - I'm going to start with the Go Foil Iwa on the 29.5" Mast (which is +3" with the mast track adaptor).


I put the leash plug in the back of the tail (like everyone else is doing).  


The bottom rail is chamfered - just enough to release, but not so much as to drop volume.


I have high hopes for this board, but really the last two days were probably better for this board (more energy in the waves - supposed to drop off a notch as the new decade starts up).

Sunday, December 22, 2019

Squeezing it in - Fill Coats

I had to work today, but before I left I got the laps on the bottom ground down and the fill coat brushed on.  Here is the board before I ground the laps down.


So nice - it really reminds me of the interstellar object 'Oumuamua that flew through the solar system a couple of years ago -


And here is the board with the laps across the bottom deck all ground down.


The fill coat got to harden while I was at work.


And I got home, ate dinner, then applied the fill coat to the bottom deck.  It was mostly dark so we didn't take pictures, but I'll take a few pictures of the board tomorrow before I start to sand down the fill coat.

Thursday, December 19, 2019

Track Slots Cut

I cut the slots for the Futures 10.75" boxes today.


Perfect alignment!  Measure three times, cut once.  If I start tomorrow afternoon, I should have the bottom and top laminated and the fill coat on by the end of the weekend.

Thursday, September 13, 2018

Bouncing Around In My Cranial Space

Here is something I've been trying to research - a Windsurfing/Surfing (SUP) Foilboard.


Wide for stability while paddling and reduced swing weight and windage.  We'll see if this ever rises to the top of the to-do list, but at least it is out of my head and down on paper (virtually).

I've Been Looking for this for YEARS!!!

I have finally found the holy grail of shaping accessories - a 10" jigsaw blade!!!


Just look at it!  It is magnificent!!! 


It makes a normal blade seem like a toothpick!!!


Cutting out a blank was fine with a regular jigsaw as long as the blank thickness wasn't over 2.75" or so.  Even then, chances were you would have to make some passes with a hand saw.  


As I've gotten older, I prefer my boards to have meat on them so that meant I'd have to cut the templated blank with a hand saw.  That's fine, but it takes time and it is challenging to keep the blade straight up and down as you cut curved lines over long distances.  This is a 5.5" thick blank and this blade changes everything...


No issues at all - I wish this was available 10 years ago...


Both blanks were trimmed in 20 minutes - that is start to complete finish including cleanup -  unbelievable!  I know these days with CNC routers and CAD this is not really relevant, but for garage hand building this greatly speeds up the process by enhancing the consistency up front.  Not having to correct cut errors through the entire shaping process is big.  Mahalo nui loa Bosch or whoever thought this blade needed to come to market!!!