Showing posts with label Prone Foil Board. Show all posts

Monday, January 29, 2024

Garage Works - 1/29/2024

I got through the sanding regime on No.34 this evening.

I had a picture of the top deck also, but blogspot isn't liking it (keeps turning it on its side).

This board's primary duty will be as a wing board.  It may look like a shrunk down down wind foil board - and that's because it is.  I'm anticipating this board to move fast when powering up, which in turn will get the foil to lift way sooner.  

Secondarily it will be a Foil Drive Max board - in an effort to extend an already long battery life.  

I may also try to prone foil this board - at which point it may become a quiver killer, but for now I'll just focus on winging first. 


Dimensions below.  I'll get the wear coat (acrylic clear coat) on tomorrow - and maybe even cutout the deck pad and get it stuck on.


Now we just need some wind -

Monday, May 1, 2023

No.31 Done

When I got home from work, I sanded the last two pinhole fills and then sprayed "satin" clear coat over the whole board.


No.31 is a 4'8" x 18.75" x 4" - so a narrower/thinner version of No.21 (which has been my go-to for quite some time).


You may be asking yourself - "self, why are his boards so rough looking?" - well, for my own boards I like an element of "combat survivor".

The finish smooth - but the laps and layers of different fabric show through.  Most of the cosmetic blemishes (authentic battle damage look) will get covered by the rear foot pad or the wax - so I never sweat this (on my boards - if I'm making one for someone, I'll make the effort to make it look nicer).


I'm guessing this is in the higher 30's for volume.  We'll see when I take it out (or when I fill the dunk tank again).  For reference, No.21 is around 50 liters.  Visually No.31 has a lot less volume.  I'm ok with this as I'm experimenting to see the effect of length in ease of catching waves (longer equals catching waves earlier) compared to the shorter boards I made last year, and even against No.30.  

Wednesday, March 29, 2023

Garage Works - 3/29/2023

I've been contemplating the rail and tail shapes on No.30

Yesterday I marked up the blank with navigation points (where to cut) and today I went ahead and started shaping.

The shaping actually went pretty quickly.


Bottom deck


Bottom deck


Bottom deck


Top deck


Top deck is on top


Bottom deck is up in this picture


And this is the top deck again.

I may let this sit a day or two - just to go back to it with fresh eyes.  I'll start the blank sanding process and get the mast track reinforcement block mapped out.  With this one being the first long prone foiling board I'm making, I'm probably going to use two sets of Futures one shot boxes - just debating if it is going to be a 8.5" and 10.75", or 2 10.75" boxes.

Tuesday, January 17, 2023

Garage Works - 1/16/2023

This was yesterday's progress.  I sanded edges and grinded open the mast track boxes in preparation for laminating the rail tape onto the board.

Here is the 3" tape all staged.


And this is the rail tape all trimmed with relief cuts made and everything held in position with painters tape.


And here is the epoxy going on the rail tape.  I used 3.5 ounces and it was the perfect amount to cover the 3" tape running around the majority of the board, and the 1" tape going around the nose section.


I saran wrapped the areas where I had made relief cuts to minimize any major sanding evolutions.

Next I'll do some light sanding to feather out the interfaces, apply the logos and get a fill coat on the bottom deck.

Thursday, January 5, 2023

Garage Works - 1/5/2023

I sanded No.29 this afternoon.  I used my foam block and 80/120/180 grit screens.


I also marked where the poly block will go.  It is offset by a cm - should not be an issue for routing the finbox slots.


The measurements on this one will come out to around 4'6"x19"x3.5" and sit around 35 to 40 liters


I really like shaping asymmetric boards.


Tomorrow I'll rout out the slot/void for the reinforcement block, epoxy it into place and place a fill/seal coat of epoxy along the bottom deck stringers.  Saturday I'll fill/seal the top deck and rout out the slots for the finboxes.

Sunday, December 25, 2022

Template for No.29

I've been contemplating making an asymmetric prone foil board for quite some time.  I've got one repair job on the bench, but after that I think I'm going to go ahead and build No.29 as an asymmetric.

The hard part is trying to nail down the template.  My strong stance is regular foot, so my right foot is towards the back of the board.  Asymmetry in a foil board is going to be way more subtle than what you would see in a surfboard or windsurfer.  The asymmetry is only supporting the rider's natural stance while riding - and really does not influence how the board performs in the surf.

The first thing to note on these templates is the "left" side is the constant side.  This side is adjusted to accommodate my front foot hugging the left/port rail, and my back foot riding more centered and over the foil mast plate.

Why do you have to make these accommodations?  You don't have to - but if you look at your feet, the answer should be obvious - you can apply way more pressure with your toe side.  So in the case of my front foot I am augmenting a weaker heel side by adding more foam under my left heel, and I'm taking an advantage I have with my back foot more centered and trimming off excess board.

The right side of the board template has two versions.  This first one is more representative of how I have been designing my own templates - straight parallel rails for developing paddling speed and a square tail for getting assists from waves during takeoffs.  This version shows a more drastic difference between the two sides (and making the asymmetry more obvious). 


This second version has the right side with a more subtle difference - less square tail and more curvature in the rail.  You can see some bump out in the nose area on the right, and the tail area is fuller compared to the left.


For my first asymmetric prone foil board, I'm going to go ahead and use the setup shown in the first picture.  I don't want the differences to be subtle - one, so that I can determine if this is actually worth incorporating into future builds, and also to make it obvious that this is an asymmetric (and they won't think I was drunk while making this board).

Wednesday, October 19, 2022

No.26 and No.27 All Done

I got the top deck sprayed this evening on both of these.


These are definitely on the low end of what I can probably ride (volume wise), but it will be fun experimenting with these.  No.26 (above) came out heavier than No.27 - even though it is smaller.  The difference (besides the size) is the cloth - a carbon and innegra weave, and the epoxy (pro epoxy).  I saw this between the WWFB and the Narrow one - the narrow one has both carbon and innegra on both sides and ended up heavier.


Tomorrow, I'll get them outfitted - deck pads, leash cords, drill out the vent holes and install the vents - then let the deck pads sit for 24 hours (or maybe I'll get the deck pads on tonight...)

Saturday, October 1, 2022

Garage Works - 10/1/2022

And I did spend a lot of time in the garage today.  I spent a lot of time sanding No.26 and getting another fill coat on the top and bottom decks.  The stickers have been epoxied in place, and I also got the track boxes ground open.

Tomorrow I'll sand it and get the plugs installed.


I also got the rail tape on No.27 

I'll sand the rail tape tomorrow, then I'll color the deck a little before adding a fill coat.  I should be able to get the first top and bottom fill coats on tomorrow. 


Without rushing, I think I should be able to ride these boards next weekend.

Saturday, September 10, 2022

Garage Works - 9/10/2022

After we got home, Marlon and I trimmed the hedge - I wanted to get that out of the way.  Then, I went and cut out the slots for the finboxes on both blanks (No. 26 and 27).


These both came out perfect!  Measure 3 times, cut once.


Then I went ahead and traced the template for Prayot's wing board on to one of the blanks I just brought home.  This is going to be something along the lines of a 4'6" x 23 7/8" x 3 7/8"


And I helped Marlon get more shaping done on the longboard he is making.  We started on the spoon under the nose, then started the rails on the bottom side, and moved to the top.  I used the electric planer to remove a ton of foam - Marlon wants this one to be really thin.


Lunch was a good stopping point.  We still need to round out the rails a little bit, then make sure the shape is good to go - but good progress on a Saturday!!!

Monday, August 15, 2022

Garage Works - 8/15/2022

I decided to truly take a break from surfing/foiling today - so I used the time to get these two prone boards advanced.

First I routed out the slots for the reinforcement blocks.  Then I cleaned up the edges so the blocks would fit in snug (not too tight - need room for the fabric).

These first pictures are the carbon layers added in.  I use offcuts from the bottom laminate from previous boards (this stuff is not cheap - I try and use all of it).


On these boards, I did something different than previous builds.  I broke up what would normally be a combined step into two separate ones.  In the single step version of getting the fabrics wetted out and then placing the reinforcement block immediately after, the top fabric usually pulls.  Even though this part of the board is never seen in the finished product, I still wanted to do it so the fabric doesn't pull.

This first of two separate steps was to wet out only the top part of the fabric that would stay above the routed out hole.  I placed saran wrap over the fabric, placed the blocks in place to hold the fabric in place and added soft weights to help keep the fabric down.  


The next step was to add some more fabric to the bottom - this is scrap innegra (even more expensive than carbon fiber), then I wetted out the bottom and sides of the hole, added a layer of epoxy thickened with Thiksil, and then placed the block in.


I filled the gap with some straight epoxy (flows into the gaps easier), then covered the blocks with saran wrap and placed the weights on the outer edges of the blocks.


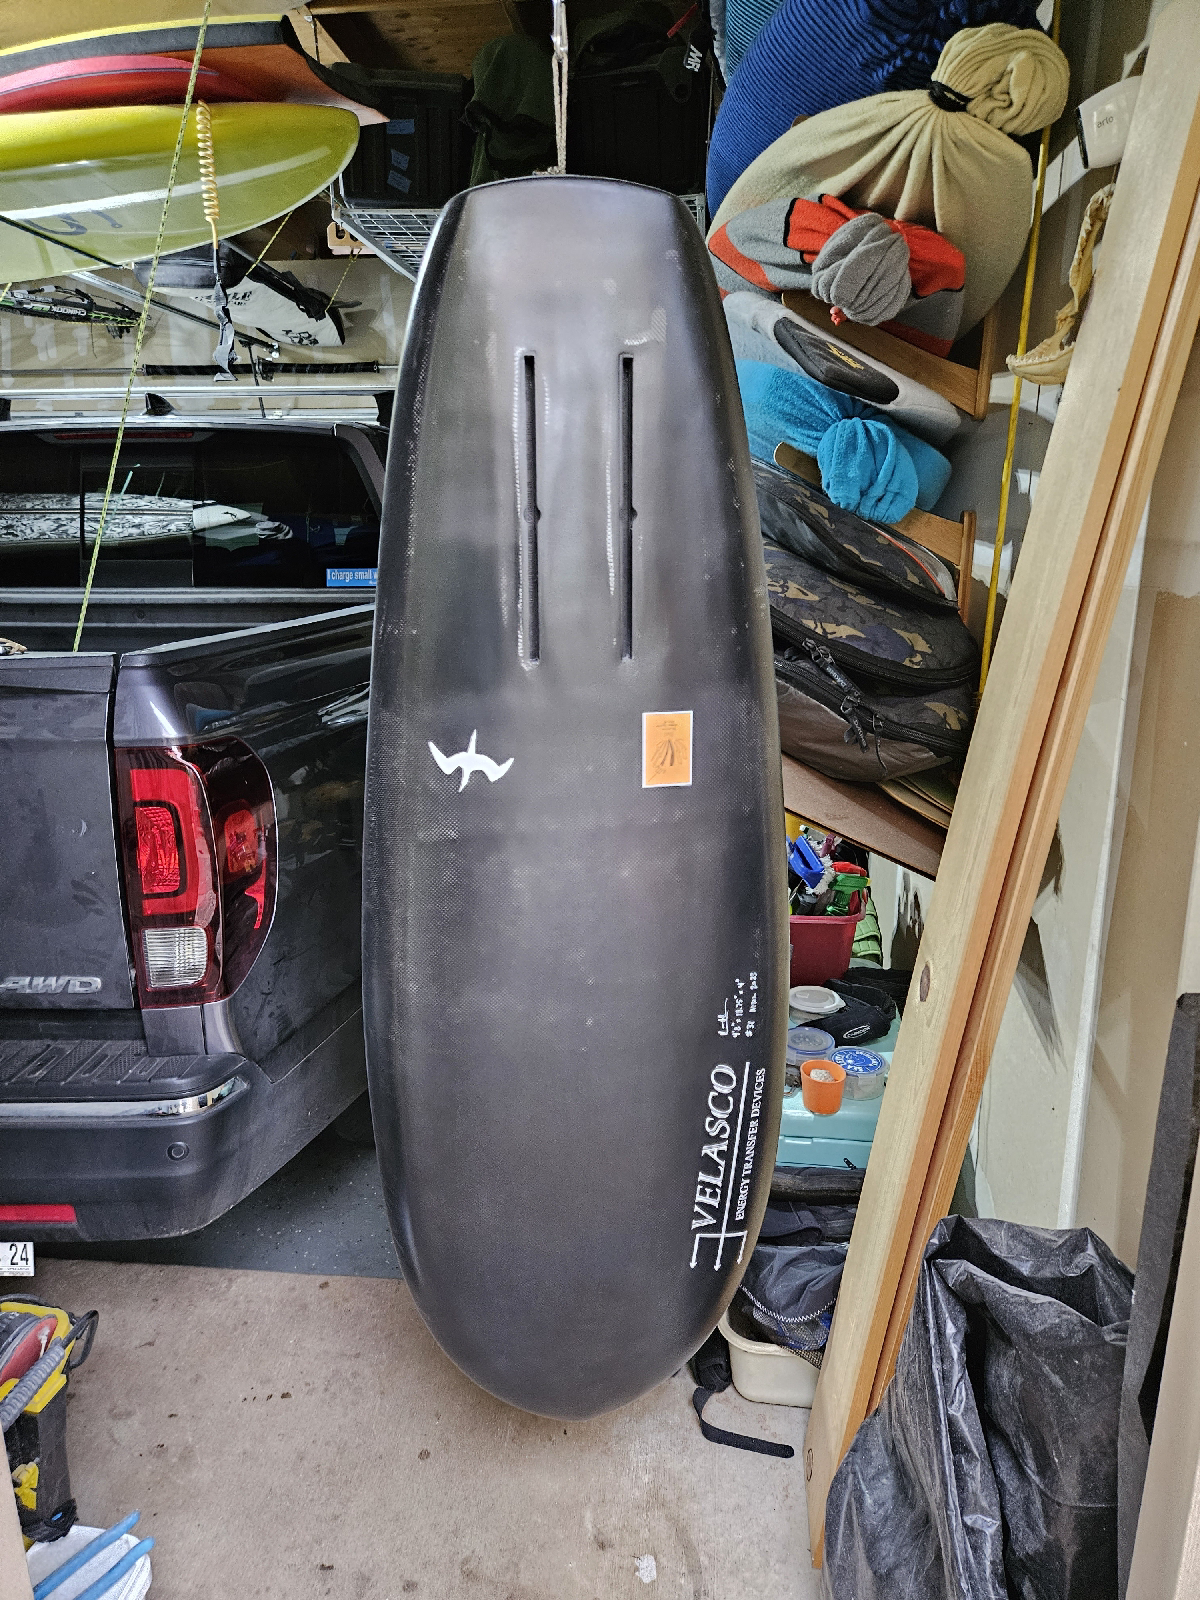
The next step on these will be to rout out the finbox slots in these blocks.  Then I'll flip the boards and rout out a thin layer of foam on the top deck where my left heel goes - I'll press on a thin sheet of divynicell.

From there I'll laminate on the top deck fabric, then flip the board and epoxy in the finboxes and laminate the bottom deck.

There's more (a lot more), but these prone boards get done faster than the wing boards.

Thursday, August 11, 2022

Garage Works - 8/10/2022

I did bolt from the beach a hair early - I wanted to get home so I could dial in the two boards I'm working on.

I am a firm believer in needing to walk away from the shaping for a few days after you do the rough in - that way you can come back to the project with fresh eyes and get all the details worked out.  Here is the Bash templated board all dialed in.


And this is the shorter version of what I'm currently riding.

I'm going to not cut through the stringer this time for the foil mast track reinforcement block - so next up is addressing that part of the board.

Sunday, June 19, 2022

Next Prone Foil Boards

I transferred two templates to the big EPS blank I had stashed in the garage.


This is a 4'5" smaller version of the 4'8" I've been riding for a while.


This one is a template from the board I repaired for Marvin (G.Pang Majek Bash 2).  This one is tiny at 4'2" (probably the smallest board I'll ever even try to ride).


I'll finish No.25 before going full bore on these - I just wanted to get the big blank broken down.