Showing posts with label foilboard repairs. Show all posts

Saturday, May 17, 2025

Garage Works - 5/17/2025

This is the board Bill got to me today - cracks in the top of the rails - both sides


I grinded the cracked epoxy out and prepared it for a fill with strips of carbon


And I prepped the patches for the trench board


Got them placed and then headed out to run errands


I sanded the Portal and then sprayed some clear coat on and that one was done.

For the Cruzer, I sanded, placed a fill coat, allowed it to harden, then came in and sanded the excess off.


Not the best job I've done, but with the repair so close to the deck pads it was the best I could do (without damaging the pads).


I loaded those two boards in the truck so I can return them to Bill tomorrow - and then I had a big empty space in the garage...

Now I can work on No.41 again.  Since I had Bill's trench board (Amos Cruzer), I took some measurements from it and then marked up the cuts I'll need to make to get my version of a trench board put together.


Probably four extra steps needed to get the trench in place.


Here we go!

Friday, May 16, 2025

Garage Works - 5/16/2025

I was going to parawing this afternoon - but I figured I should get some yard work done first (which would give me an excuse to "rinse off").

I got the yard work completed (and actually a bunch of it) - but then it started to rain hard.  The wind was also gusty and shifting - I figured I should stay back today, get some more rest in and get some progress on the projects I have in the garage.

First up was inspecting the wing I got Brenda to fix.  You can see the dacron patch on the leading edge.  This is where the rear stabilizer brushed up against the wing yesterday. 


I also spent some time filling and sanding said stabilizer - it's better than new now.  I am going to give the SK8 750 another shot when the wind comes back next week.  I think I need to bring it back in the tracks a 1/4" and then it might be dialed in and I can really do a comparison against the AFS foils.

I sanded all 5 areas on Bill's board.  I also trimmed the carbon patch for the underside ding.


I got more fill on the repair, and then laminated the carbon patch under peelply.


Then I went ahead and got another fill slurry on the top deck dings.  I'll sand these tomorrow and get the carbon patches on.

I may also be able to get the pigmented fill coat on tomorrow as well.


And lastly - this came in the mail today.... the Team sticker for 2025!


Fun times!!!

Friday, April 18, 2025

Garage Works - 4/18/2025

I had some time today - so I got the mast track reinforcement block installed in the board that Scotty brought over for Uncle Joe.

There is a 6 ounce cloth patch surrounding the block (which is on top of the 6 ounce patch covering the bottom of the slot).

This hammer drill is heavy - and made a nice weight.


This shows that the track block is in straight.


And here is the track all taped up and ready for lamination.


This is a direct overlay of a 6.8 ounce uni-directional sheet of carbon, and an over sheet overlay of a 4.8 ounce carbon cap sheet.


Tomorrow will be sanding and filling.

Wednesday, April 16, 2025

Garage Works - 4/15/2025

This was work from yesterday.

I got Duke's board repair done.  When I was sanding the repair down, I couldn't isolate the sanding to just the repair.  So I ended up painting the area around the repair.

This was the big chip. 


And this was the chip in the tail.

Then I sprayed paint onto the other side of the board to make the board look more symmetric.


And I went ahead and opened up the big Starboard Peanut board.

I'll have to fill this gap.


After I took this picture, I went ahead and place a layer of fiberglass and epoxy on the bottom of the slot.


I also trimmed more fiberglass to epoxy into the bottom of the reinforcement block - this board is big and the foil is going to apply a large moment arm to the board.  And I can't use carbon because this board may be used with a Gen2 Foil Drive Max.

I'll add carbon over the top of this block - but using it underneath would have killed the signal transmission.

Friday, November 22, 2024

Garage Works - 11/22/2024

I actually finished this repair order yesterday.

Here's the tail repair


Here's the starboard nose epoxy replacement


And the port nose epoxy replacement.


And just when you finish one - more show up.

These are Roland's boards - I guess I know what I'll be doing this weekend.

Wednesday, November 20, 2024

Garage Works - 11/20/2024

I sanded the patch down today.  I almost felt like I didn't need to add another coat of epoxy. but Harris asked me to look at the nose - so I figured if I was going to mix more epoxy, might as well add another coat.


And here is the nose sanded and taped up.


I'll do a quick sanding job on these areas tomorrow and spray clear coat on the repairs - should be all pau then.

Tuesday, November 19, 2024

Garage Works - 11/19/2024

I worked on repairing Harris's Appletree today.

I sanded down the fill -


Cut out the patch (and the peel ply)


Then added the epoxy.


I just came in from the garage (4 hours later) and took off the peel ply.

Tomorrow I'll sand the patch to get it flat.  I may add a thin top coat, then sand and clear coat.

I should be able to get this out of the garage by Thursday (Friday at the latest - I want to work on glassing No.39).

Monday, November 18, 2024

Garage Works - 11/18/2024

I opted to skip the water time today - tide was too low for my preference.

Plus I have some repairs stacking up in the garage - this is Prayot's AFS Pure 900.

The front carnage is filled and ready for sanding.


And the wing tip is rebuilt.


The solid paint marker on the wing is from Prayot (not sanding them).


Here is the foil all finished.

Wet sanded from 220-320-400-600-1000-1500


Came out nice!


Not sure how long it'll stay this way -

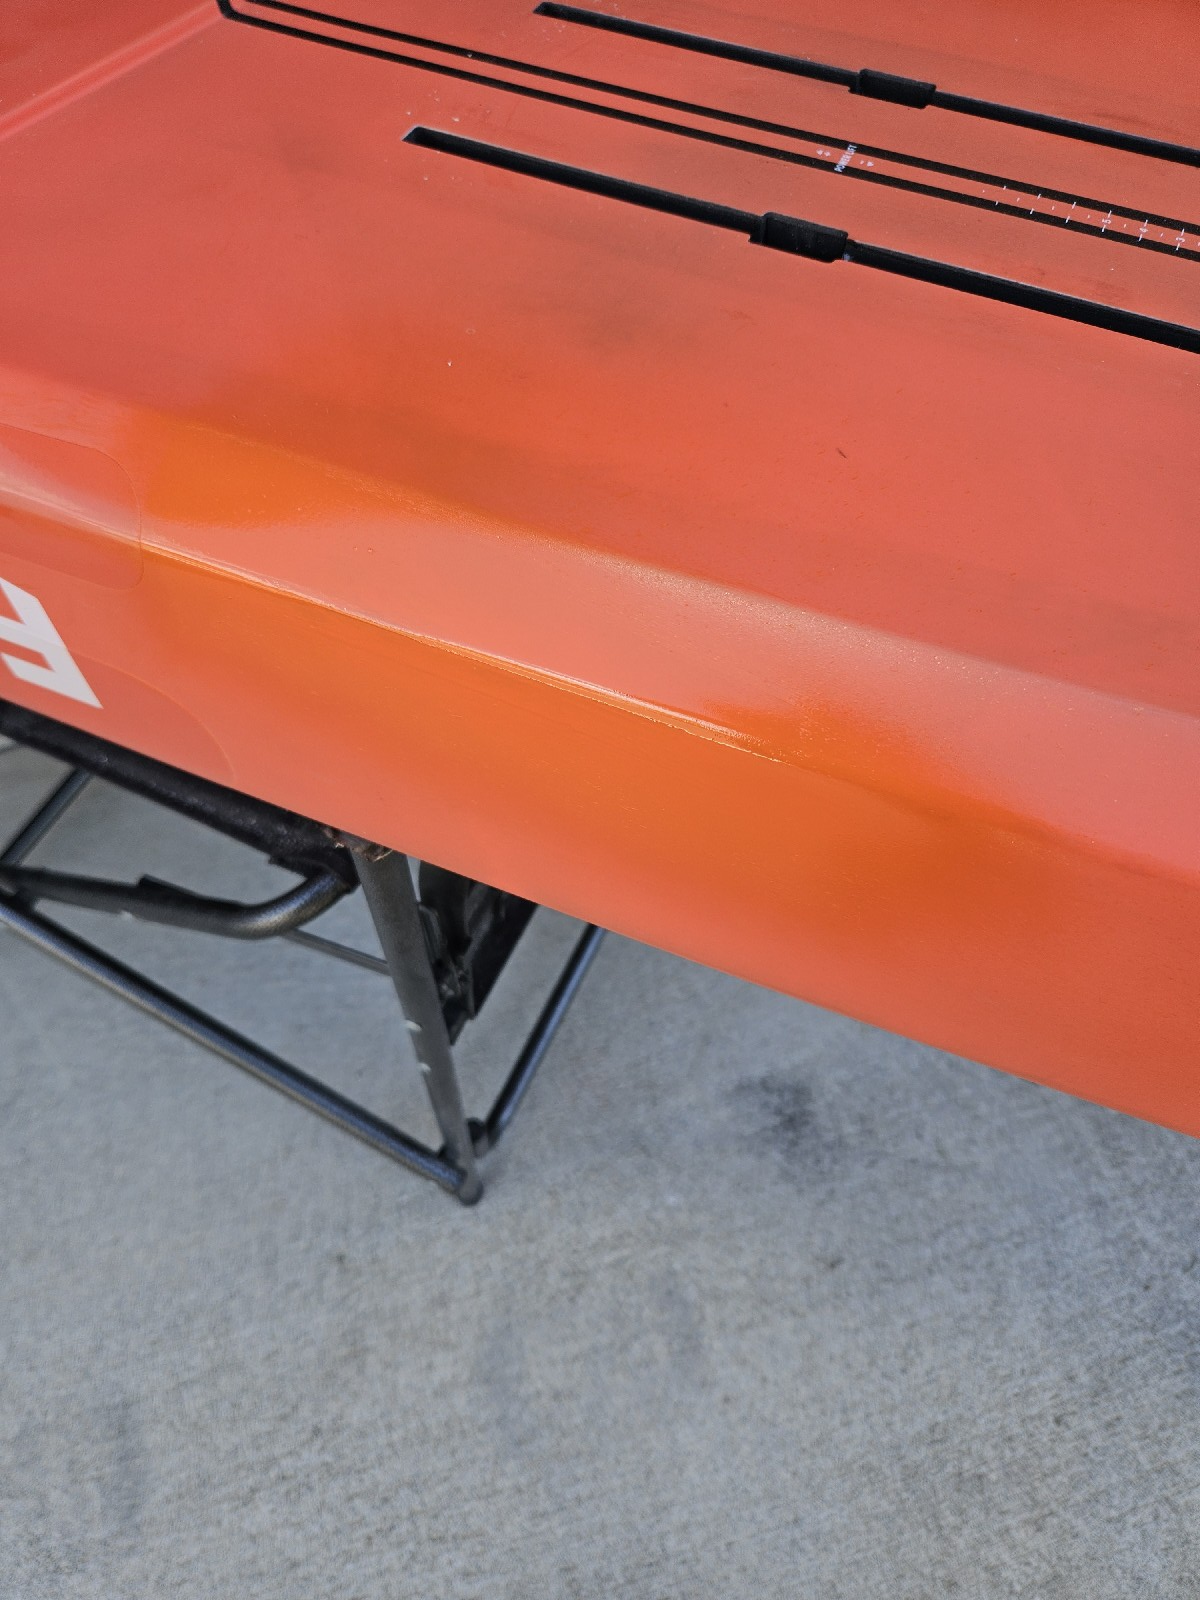
And Harris dropped off his Appletree board for a tail/rail repair.  I'm not sure what happened (I don't need the story), but the corner was pretty beat up.  I sanded off the shattered carbon (which seemed really "dry" - I know the use infusion to laminate these boards - but it felt like this needed more resin in this area). 


Here it is all clean and ready for a stabilization fill


I set it on the rack this way to keep the epoxy slurry from running.


One last look before the epoxy goes on - those individual fibers are what I was describing as "dry".  They also seemed like they really weren't bonded to the foam.  It could have been the impact - who knows.


And here is the fill.


I'll sand this tomorrow and get the carbon patches on.  I want to get this out of the garage so I can focus on No.39