Showing posts with label Modifying Stuff. Show all posts

Thursday, July 10, 2025

Garage Works - 7/10/2025

Guys are modifying their long bridled parawings.  

With a 2 to 1 purchase pulley system they can collapse and retract their parawings with a halved stroke.


So yes - I now am compelled to do the same.


Will likely do this to the original V1 Maliko parawings.

Monday, November 27, 2023

Garage Works - 11/27/2023

A head cold manifested itself in my sinuses today - I really didn't feel like hitting the beach.  I mainly rested and helped La choose some stuff for the house.  But after that, I felt compelled to get this project done - switching the Foil Drive Assist Plus latch side guards out for the locking set of side guards.


This step was the hardest - taking off the old side guards.  Razor blade, needle nose and regular pliers, and some sand paper were what was needed to remove the old side guards.


The new ones fit nicely.  I used some gel Gorilla Glue super glue and got them stuck on.


Now I won't be checking the latches after I reset after a wave.  With the screws in place, the box can't be opened (from the front).

Sunday, June 27, 2021

Garage Works - 6/27/2021

Got a bunch of lawn work done today - then took a nap.  After my nap (I love naps), I headed into the garage to get some progress on some projects.  First up was getting Nick's kite foil board ready for some more epoxy work.  I removed more deck pad on the area I'm going to have to wrap.  I sanded the band around the board where the wrap is going to go.  Then I finished up by routing out four slot where I'm going to insert some bamboo chopsticks.  It was pretty warm today, so I opted not to mix epoxy. 


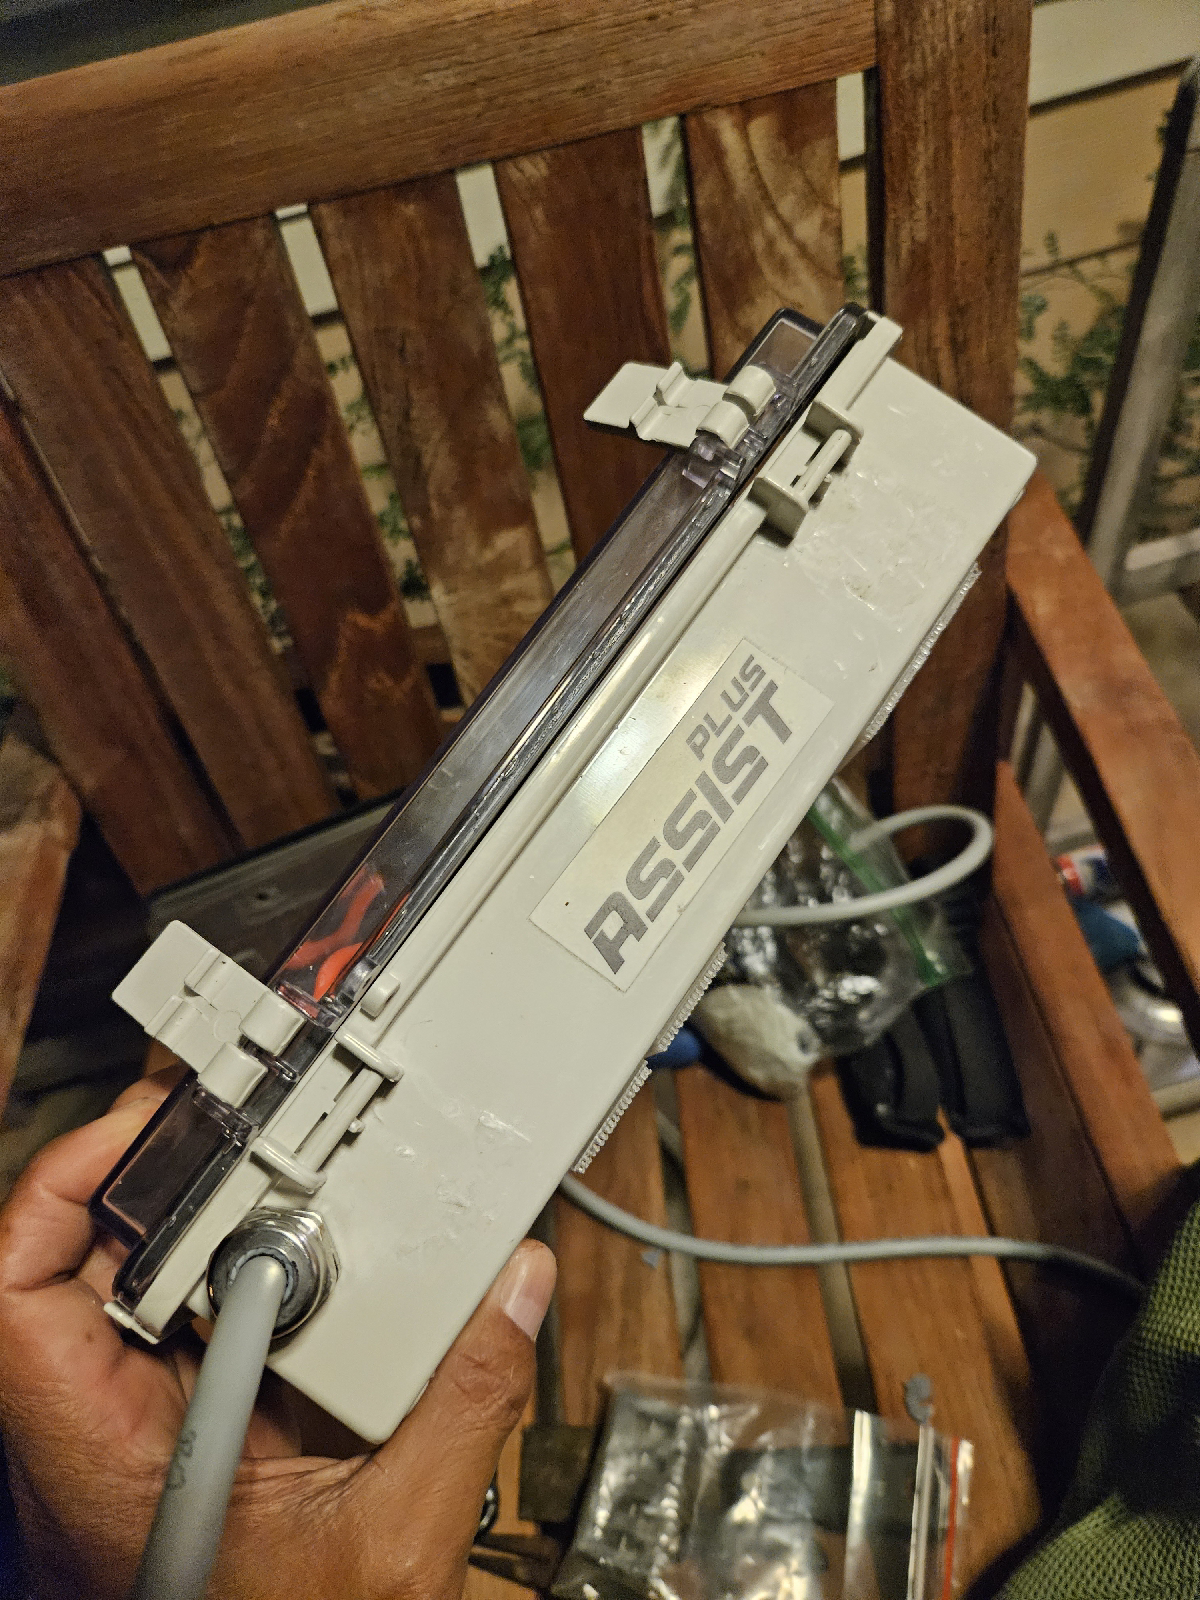
Up next was converting my 72cm Armstrong V1 mast over to the A+ system.  Here is the mast after I took it off the 4'8" board - no through the mast bolt yet.


All I did was watch the video Armie put up on YouTube.


Probably took 15 minutes.  I encountered a lot of debate on whether this modification is necessary.  In my mind, it can't hurt and I already have the hardware/conversion kit so bam - all done.


I also got the 4'8" sprayed with gloss coat.  I don't have any pictures of that, but I annotated the HS1250/300 bolt locations, cleaned up any dirt/salt on the board then sprayed the bottom.  Tomorrow I plop some sticker on it and do some touch up painting on the top - I will likely take a break from foiling tomorrow so I can rest up - so plenty of time to work on the board and finish it up.  While I was doing all that, Noe was in the garage with me sanding the components for her desk.  I let her use my shapimg/sanding rack.  When she was done, I started the big project - Kalani's wing foil board.


I got the bulk excess planed off both the bottom and top decks.  Kalani wants some of the fancy chines on the bottom deck - I'll start working on the rails tomorrow and then add the chines in after.


More garage work tomorrow (I think the swell will be dropping and the onshore breeze will kick in again - I'll wait for the trades to fill back in on Wednesday).

Saturday, June 19, 2021

Converting Front Foils

The other thing I got off my to do list was converting the Armstrong front foils to accept the A+ barrel nut.  I set up an assembly line and knocked them all out.


Watch the video Armie put out - pretty straight forward.  The only thing to watch out for is some of the wings will splinter on the exit side of the bit.  That is no big deal - just means you will have to use the file a little more than if it didn't happen.


Since I had these laid out, I figured I should take a picture.  These are the surfing foils - CF800, CF1200, HS1550 and the HS1432CS


And these are the winging foils - HA1125, HS1250, HS1520CS, and the HS1850.


Tomorrow I'll throw a coat of wax on the two chopped wings (I noticed drag on the HS1520CS last time I had it out).  I'll surf the 72cm mast tomorrow - hopefully that will break this negative trend.

Monday, January 18, 2021

Fill Coat on the Lower Surface of the Chop Shop HS1550

And since I was working with epoxy, I got the bottom fill coat on this rejiggered HS1550.  


I'll get the top coat on tomorrow since I'll be seal coating the bottom deck of the new wing foil board (and will have epoxy available).

Saturday, September 28, 2019

Rough Cut Maliko Tail

Cut up the Maliko tail wing.


I'll ride it this afternoon and see how it is riding.  If everything checks out, I'll fair in the cut sections and get it symmetric.  I have high hopes for this!


Tuesday, October 9, 2018

More Closer Pics

Being this close to the finish line, I feel compelled to get these two projects completed.  After work yesterday, I got the boxes covered up, protective cover laminated and the box slots cleaned up.


I also got the fill coat applied on to the foil.  I still have to sand off the excess fill and paint the foil, but that should not take too long. 


We should be able to try this thing out by the weekend for sure.

Sunday, February 21, 2016

General Cleanup and the Cap Sheet

After surfing, we did minimal errands and headed back home so we could get some stuff done. La has been working on home school preps and I turned to finishing the epoxy work on the Hooked SUP. I ground the edges and high spots down from yesterday's box setting. I also decided to maintain as much of the track box as possible and just feather in the foam-to-board transition. These pictures are the finished product prior to me placing the cap sheet of fiberglass. I ended up using a single layer of 6 oz cloth instead of two 4 oz layers. I don't intend on sailing this board in high winds and the force will never be lifting "straight up", so I took the lazy route. Hopefully my hunch is correct and this mod will be sufficiently strong for what I'm looking to do. The bottom of the box is way stronger - 3 overlapped layers of 4 oz cloth - this and the sides are where the forces will be directed, so I feel better about this overall distribution of fiberglass and epoxy. As I pick up some spare time during this upcoming week, I'll feather in the cap sheet, start re-applying the deck pads, add touch up paint to some previous scuffs, and replace all the hardware (bungees and Scotty mounts). I'm looking forward to getting this board back in the water (and using it to track down, sneak up on and land some big fish!!!)

Friday, August 9, 2013

Paddle Holster and Accessory Bungee All on the Cooler

I saw different versions of this idea on Alex Aguera's website and on other SUP Fishing blogs. I figured I needed one too. First thing I did was split a 2" PVC pipe - a little bit more than 50-50 (more like 55-45, you will obviously keep the bigger piece) - using Charlie Bisgard's table saw (I don't have one because honestly that tool scares me - kickback nightmares). Next I trimmed it to length - about 18" end to end. Then I cut an angle on the ends - the front is one inch shorter on each end than the back end of the pipe (side that goes toward the cooler). The Dremel came out of hibernation - I used it with a sanding barrel to round out any and all edges on the cut PVC - my luck I would step back and gouge the crap out of my legs, bleed all over and chum up Moby Dick - I like catching, but that would be messy now wouldn't it??? I wanted the mounting screws to go all the way through the cooler wall and into backings made out of old cutting board (similar to how I rigged the kayak anchor trolley a while back) - I ended up using 2" #14 stainless sheetmetal screws. I drilled out holes on the front and back edges of the pipe so I could tighten the screws straight on. When the half pipe was on, I added the bungee fittings (I DID NOT DRILL ALL THE WAY THROUGH THE INNER COOLER WALL _ JUST THE OUTSIDE). Now when I have to manage the rod and reel, I can drop the paddle into this cradle, set a bungee and enjoy the sleigh ride. In the pictures, you can see the bungee run through the holes in the front of the pipe that I used for lining up the screwdriver - this is so I can keep a measuring trough on the cooler as well as the paddle - one less thing to clutter the deck. Two other notes - if you look really close, you'll see the holder is canted to the left - I did that on purpose to encourage water drain off. And last but not least - this cooler was $39.99, not a $250+ Yeti. Choose wisely what you will drill into... I plan on testing this modification out this weekend - ice in the cooler, paddling around with La and the kids and landing a few fish - it ain't surfing, but it is pretty close!