Showing posts with label fuselage repair. Show all posts

Wednesday, March 6, 2024

Garage Works Over the Past Several Days

I got these out of the garage - but I didn't document them since Nick was in town (too much winging...) and I also wanted to experiment with the Foil Drive Max (too much foiling...)

First up was the last leaking spot on Harris's Flying Dutchman.


I actually chased this one for a bit.


This was Kalani's stuff - his Spitfire 960 was banged up from when he came up at the far cabins at WPB (just like Duke the day before).


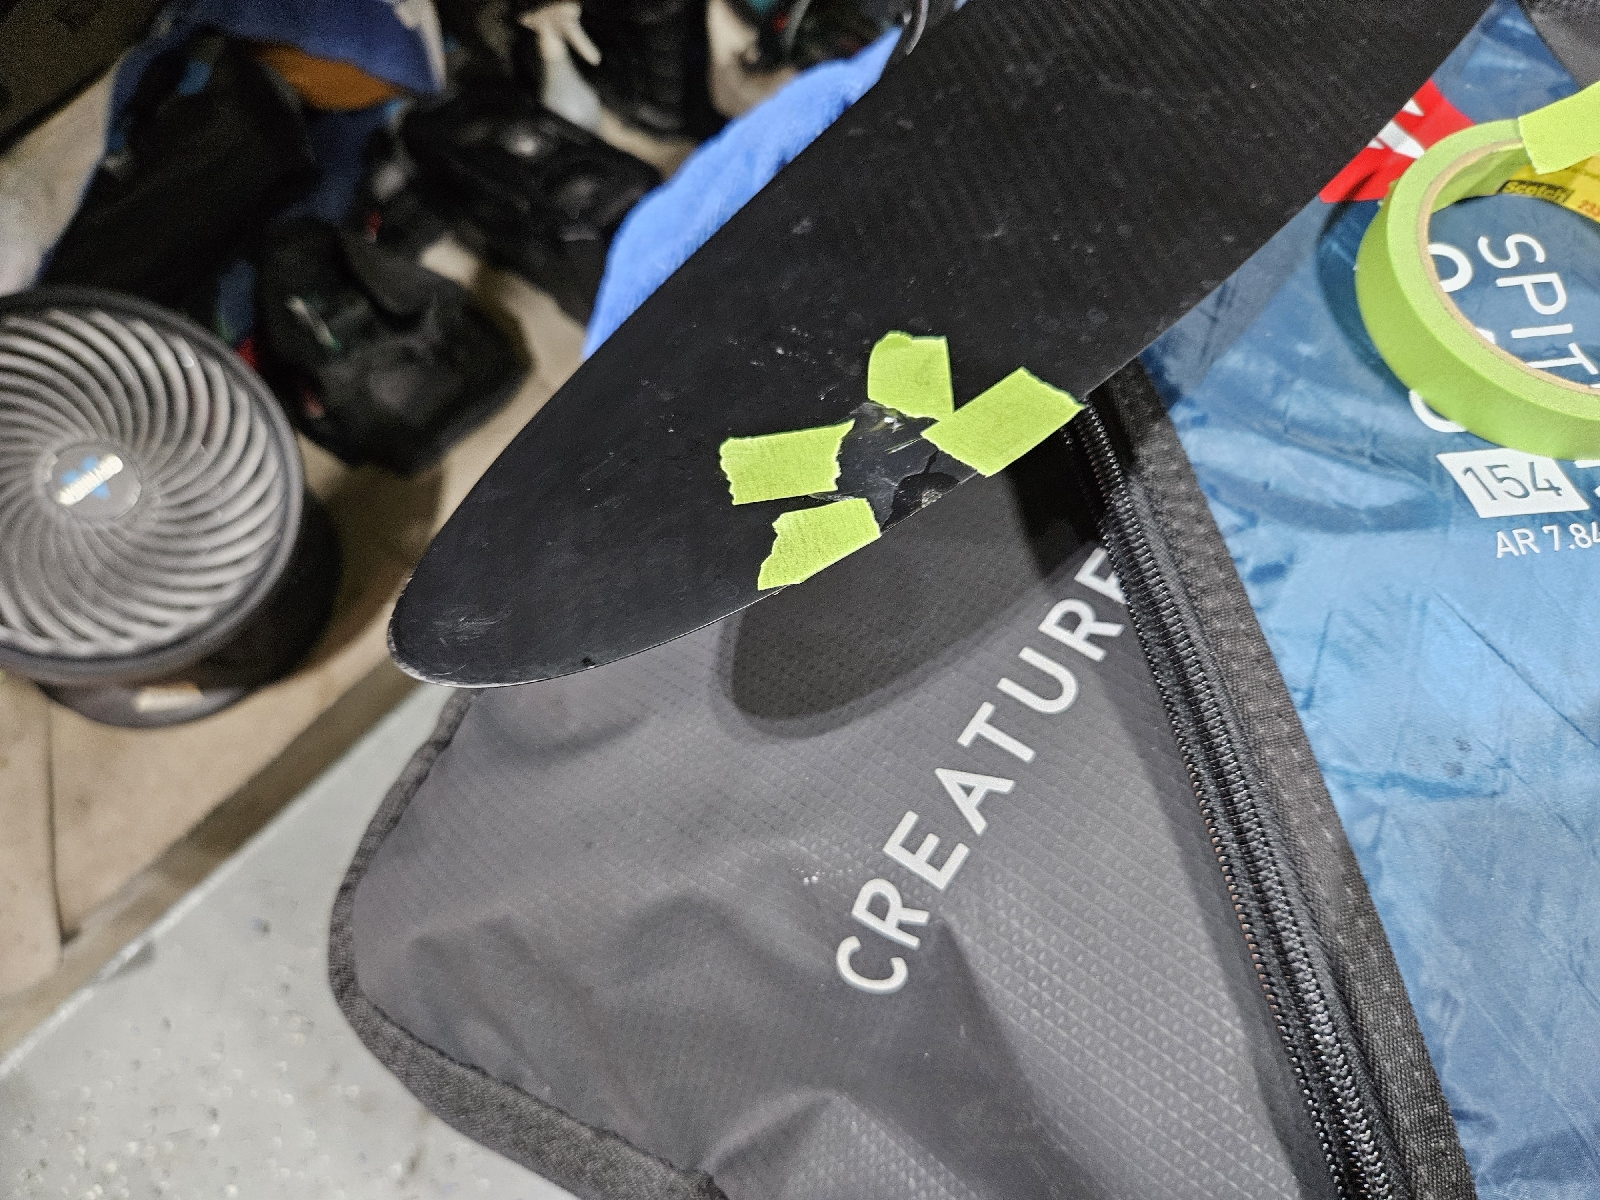
After a bunch of epoxy, solid paint marker and sanding, It came out half decent. 


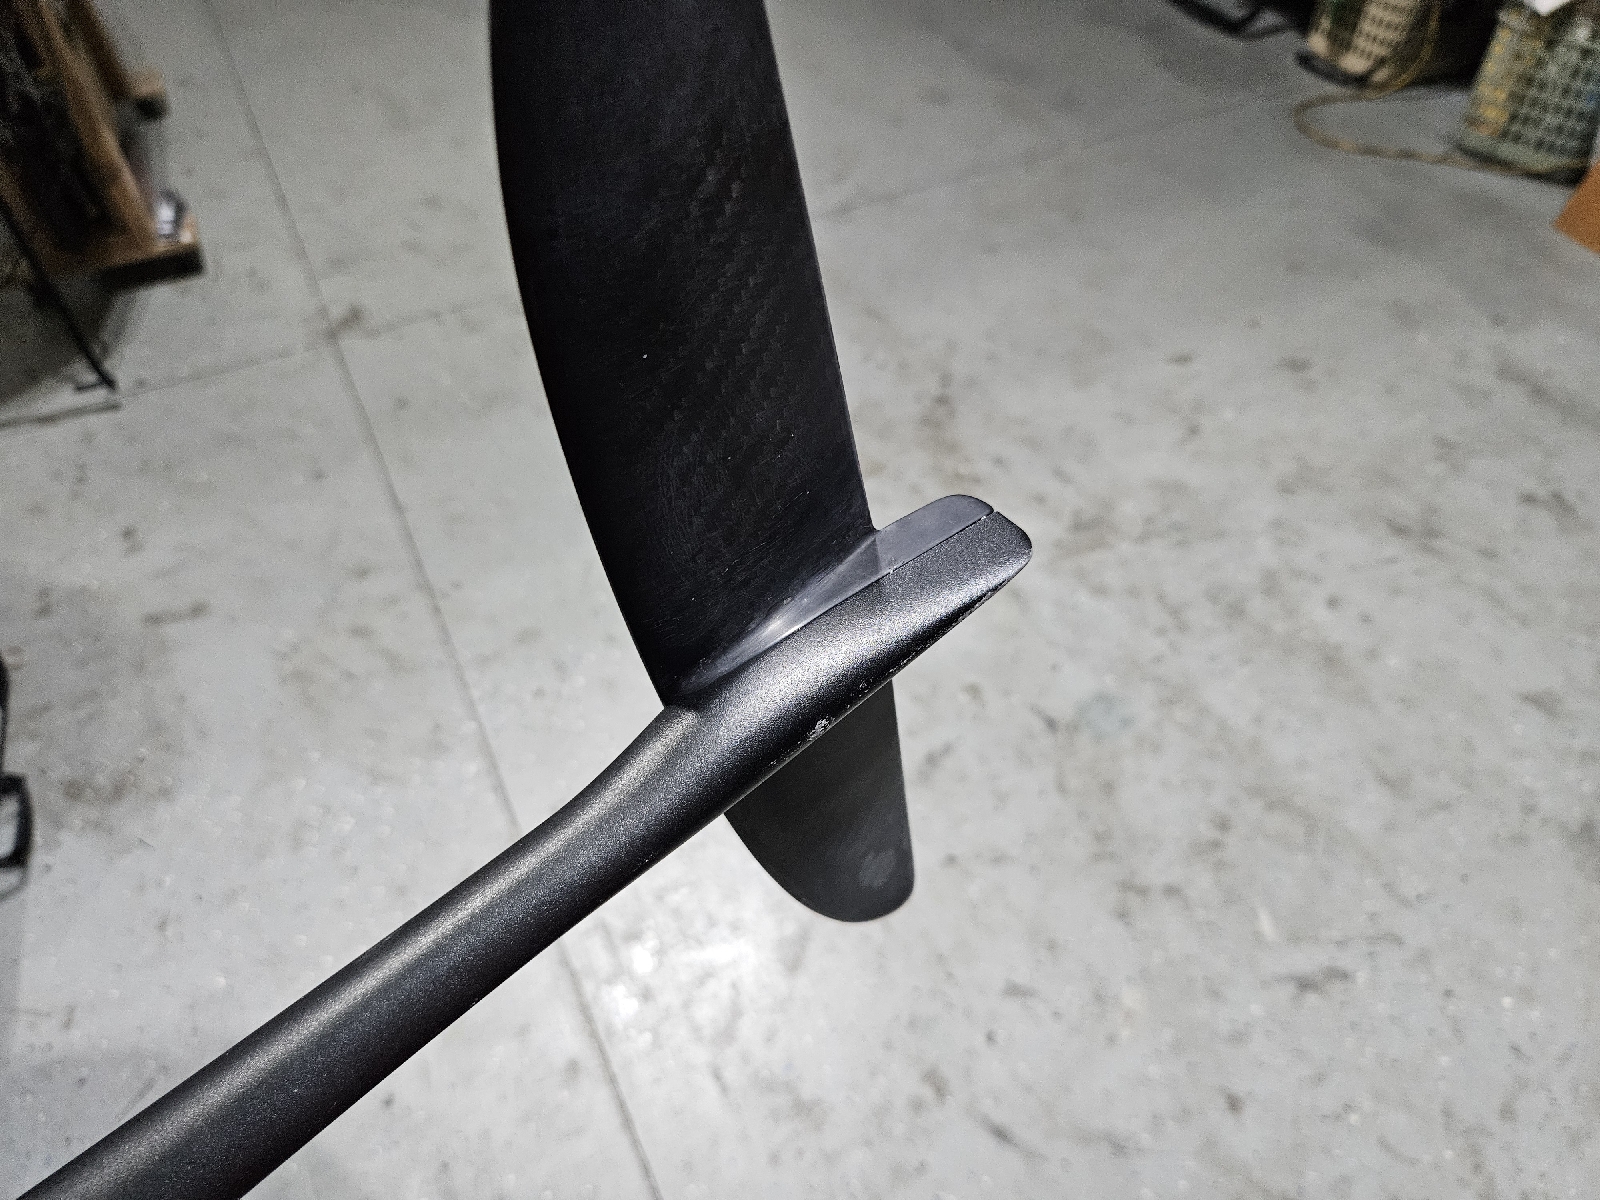
And this is his Advance Ultrashort fuselage.  Drilled out and retapped the stabilizer bolt holes.


Then installed the new helicoils


All good again!


And last but not least, Ken's board.  It had three leakers and a crack on the top deck.  Two layers of carbon on the patches, two coats of epoxy, and more sanding.


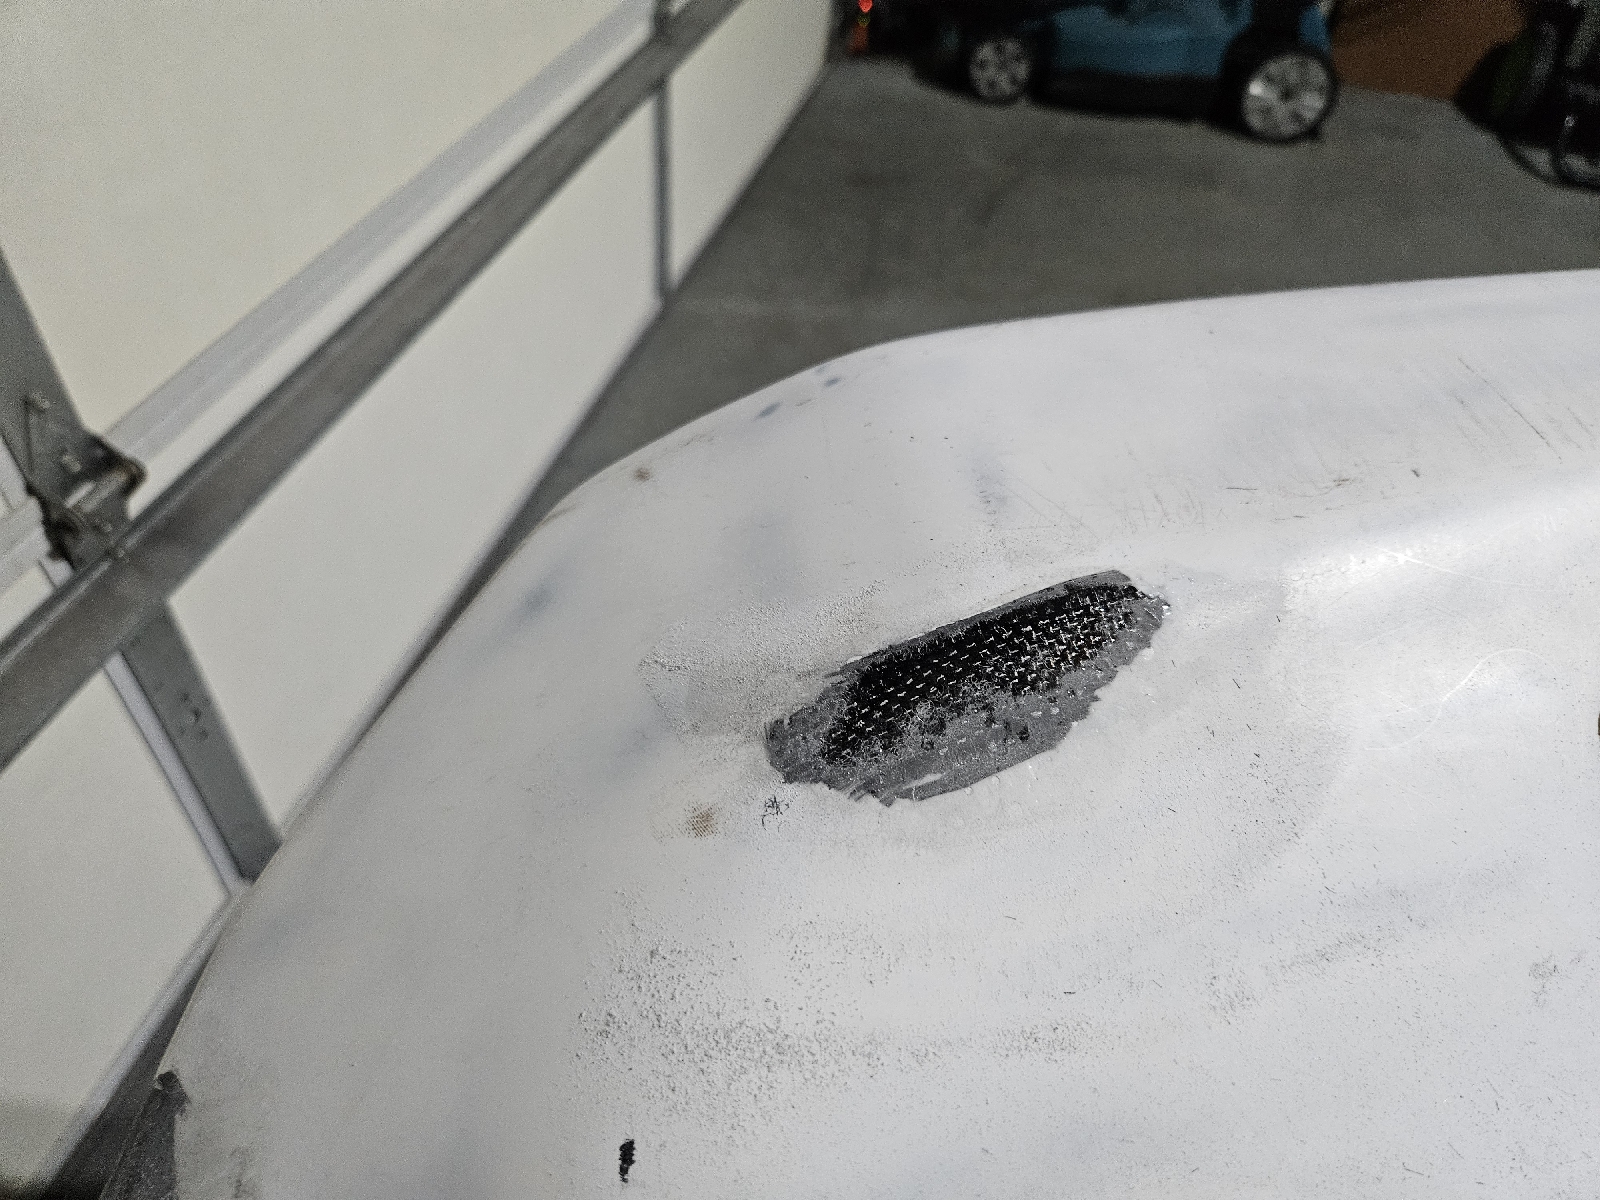
I sanded to 320 and then used white spray paint to cover the carbon fiber.

Now - back to work on Matt's 6'6" Hybrid. 

Tuesday, August 17, 2021

Garage Works - 8/15

Late post.  Sunday was a pretty busy day.  La went to pick up Noe from the airport (she finished racing in Boston), and I stayed home since we had a contractor over to fix some drywall.  I took this opportunity to get more work into a few projects.  First up, I grinded down the bolt that I put through the tail end of this fuselage.


I went ahead and put a seal coat of epoxy on it also.


Next I went ahead and routed out the slots for the footstrap inserts (and epoxied them in).


And perhaps the biggest accomplishment, I adjusted the clutch cable tension on my motorcycle (just in time to commute today - which is Tuesday).


So I don't have to post on this separately, I also routed out the track reinforcement block hole, cut out the fiberglass underlay, and today I epoxied the block in place.  If I have time tonight, I'll put a seal coat on the bottom deck so I can route out the track slots and epoxy the tracks in (sometime before the weekend - which is when I want to glass the board).

Thursday, August 12, 2021

Garage Works - 8/12/2021

I asked Marlon how the surf was this morning - he said it had come down, and was waist high mostly (with the occasional bigger set).  With the wind forecasted to come up tomorrow, I figured I'd skip today and try and get the garage projects further along.  First up was putting the divynicell sheets in place.  I cut the fabric reinforcements - innegra up front and 6 ounce fiberglass on the back.  Then I ended up mixing 6.3 ounces of epoxy to get the fabric thoroughly wetted out.


I actually broke out the bag and the seals
(you can see them in the lower right corner of the picture above), but I got lazy and just started piling up the heavy things sitting around.  I just got back in from checking on the hardening process - it looks good (whew!!!).


And while I was doing this, Marlon was painting his newly repaired longboard.  I finished getting the d-cell on and shifted over to preparing Roland's SPG fuselage to take another bolt/nut.


I have some more of the screws I used on the first repair.  I opened up the hole Roland started and countersunk both ends.


I'll get some epoxy on this tomorrow including some inside the crack and all along the nut and bolt.  Then I can look forward to grinding and sanding - oh joy!!!!

Saturday, May 1, 2021

Garage Works - 5/1/2021

After we got back from winging/sailing, I did some work on some projects I had in the garage.  First - I did the fine sanding on the new 4'8" foilboard.  Got the top and bottom decks done.


After that I went ahead and sealed the top deck with epoxy and thiksil.


I didn't take a picture, but I did patch the Wide Wing Foil Board - there was a small crack in the glass on the nose.  I sanded it and filled it with epoxy.

Next, I took a batch of epoxy that I had separated from the 4.9 ounces I mixed for the seal coat and mixed milled fibers ad black pigment into it.  I used that to patch the pinholes in the HS1420CS (which will require another round of sanding) as well as filling Roland's fuselage.


Yes - the fuselage I just finished fixing - he cracked it along the same line.  I went ahead and opened it up again, cleaned it out, sanded the exterior and placed a bunch of the epoxy mix inside.  Tomorrow I'll sand off the excess, drill through the fuselage (using the hole nearest the front foil), open the top to accommodate a 1/4 20 locking nut, bolt it together and add another coat of epoxy to fill in the gaps and keep the nut/bolt protected from saltwater.


I'm always up for a challenge!!!

Sunday, April 25, 2021

Roland's Fuselage Repair is Done

I added a final fill coat yesterday evening and sanded off the excess this morning.  I went through the 80-120-180-220-320 dry sanding, then 320-400-500-1000-1500 wet sanding.  Finally I put a clear coat on and that part was done.


After that I cleared the holes again and installed the M6 helicoils.  The tangs broke off pretty easy with a rat tail file end.  Then I tweaked the rear stabilizer so it lies flat.


All done with this one.

Thursday, April 22, 2021

Latest Round of Garage Work Coming to a Close

I've been back in Florida visiting my Dad - that's why the posts have been scant as of late - but I got back yesterday.  This morning I drilled out the holes to 1/4" on Roland's fuselage.  I also used the tap to thread the holes.


I'm going to get one more thin layer of epoxy on, do some fine sanding and then install the helicoils.

I also got Jimmy's paddle finalized.

Lastly - since I sold the Slingshot Hover Glide foils, I used the proceeds to purchase this fine cardbox box:


As well as these items inside - the new FV200 rear stabilizer...


And the HA1125 front foil

I bolted on the A+ 60cm fuselage (did not drill the mast holes for the barrel nut - not sure if I'm going to or not), and got the front foil and rear stabilizer mounted.


More on this...

Thursday, April 15, 2021

Progress on Roland's Fuselage

The middle hole was the biggest pain in the butt to drill out.  There was a 1/4" thick piece of metal (maybe titanium) that I had to get through.  I ended up breaking 6 drill bits getting through and it took a few hours over two different days.


I tried using the tap for the M6 helicoils, but the metal portion wouldn't take easily.


I'll be away from these projects I've been working on for a few days.  When I get back to it, I'll drill out the holes a little larger, fill the holes with epoxy and milled fibers (since I have a few pukas to fill around the fuselage anyways), drill new holes and then tap through the epoxy instead of the carbon and metal.  Should make for a nicer end product.